Bake Bakery-Style Cherry Muffins with Expert Tips
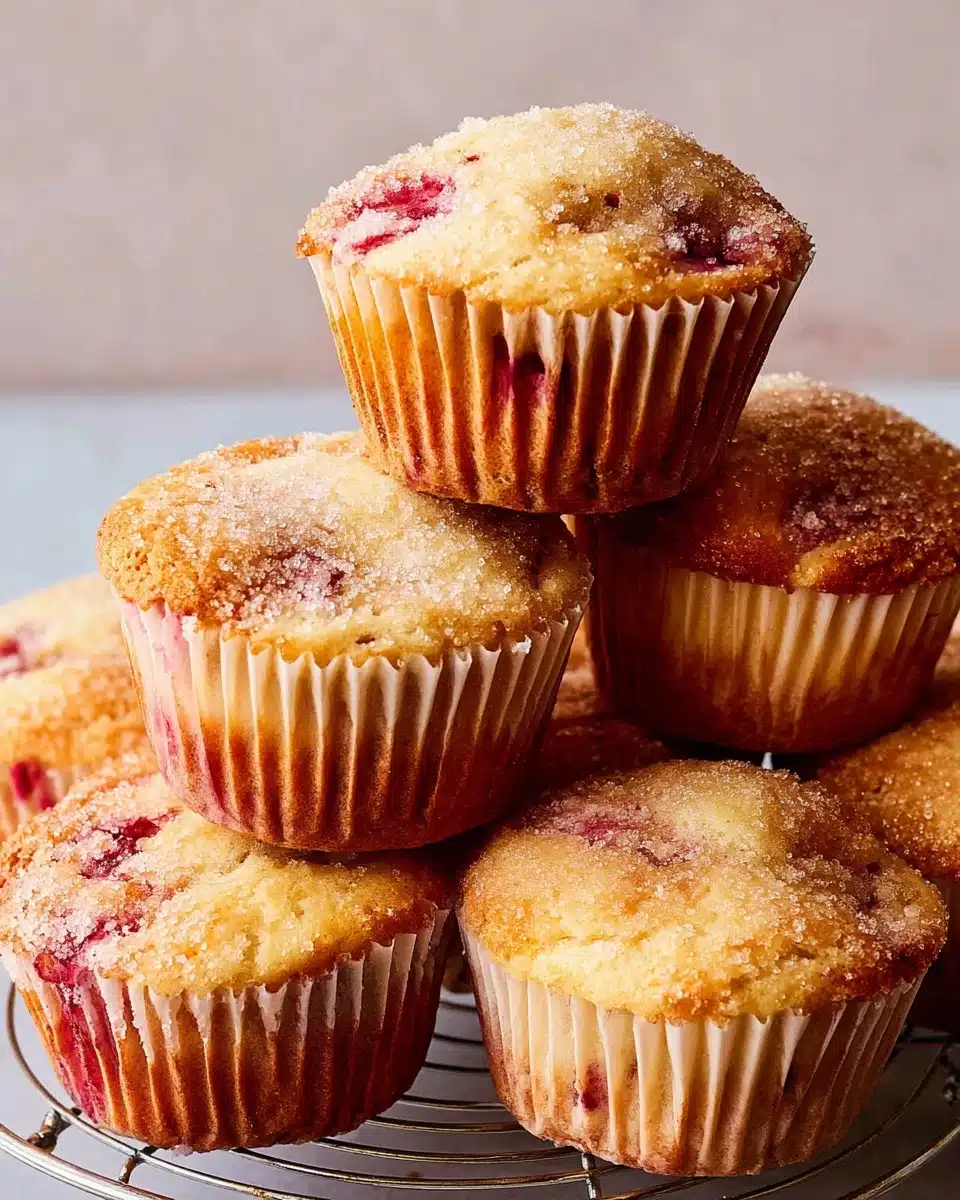
Imagine biting into a perfectly golden muffin: a delicate crunch from the top, giving way to a soft, fluffy interior studded with bursts of warm, jammy cherries. This isn't just a dream – it's the reality of a truly magnificent homemade muffin. While many enjoy a simple sugar or crumb topping, we're diving deep into crafting bakery-style glazed cherry muffins, elevating your baking game with a luscious finish that truly makes them stand out. Forget those dry, flavorless store-bought versions; with our expert tips, you're about to unlock the secrets to creating moist, fruit-filled wonders that taste like they came straight from your favorite patisserie.
For any home baker, the allure of a batch of freshly baked muffins is undeniable. As a recipe developer and someone who cherishes easy yet impressive bakes, I can tell you that few things beat the joy of a homemade muffin, especially when sweet cherry season rolls around. These cherry muffins are not just a treat for summer; they're so versatile and freezer-friendly, you'll want to stash away bags of pitted cherries to enjoy them all year long. Let's get baking!
The Secret to Unforgettable Glazed Cherry Muffins
What truly defines a "bakery-style" muffin? It's a combination of elements: an impressive, domed top, a tender crumb, and an abundance of fruit that's evenly distributed throughout, not all sunken to the bottom. But for truly exceptional glazed cherry muffins, it's also about that final touch – a glossy, sweet glaze that adds another layer of flavor and a professional appearance. This article focuses on achieving all these elements, ensuring your muffins are not just delicious but visually stunning too.
Why Homemade Trumps Store-Bought Every Time
Beyond the cost savings, baking muffins from scratch offers unparalleled advantages. You control every ingredient, from the quality of the cherries to the type of flour and sweetener. This means fresher flavors, no preservatives, and the ability to customize to your heart's content. Plus, the aroma of fresh muffins baking in your oven is a reward in itself, promising a warm, comforting treat that a store-bought alternative simply cannot replicate.
Crafting Your Perfect Cherry Muffin Batter
The foundation of any great muffin is its batter. Achieving the right balance of wet and dry ingredients, combined with proper mixing techniques, is crucial for that coveted soft and fluffy texture. This recipe is designed to be quick and straightforward, minimizing fuss while maximizing flavor.
Essential Ingredients for Success
- Room Temperature Liquids: This is a simple but impactful tip. Measuring out your milk first and letting it come closer to room temperature while you prepare other ingredients ensures it blends smoothly with melted butter, preventing the butter from firming up and creating a lumpy batter. While a slight firming of butter won't ruin your muffins, starting smooth makes for an easier process.
- Almond Extract: While optional, a touch of almond extract pairs exquisitely with cherries, enhancing their natural sweetness and adding a sophisticated depth of flavor. This subtle addition truly elevates these from good muffins to truly exceptional Almond Cherry Muffins: Perfect Fresh, Frozen & Customizable.
- Quality Cherries: Whether fresh or frozen, the cherries are the star! Aim for ripe, sweet varieties.
Preparing Your Cherries: Fresh vs. Frozen
Both fresh and frozen cherries work beautifully in this recipe, offering flexibility depending on the season and your pantry. Fresh cherries, with their vibrant color and firm texture, are a delight when in season. Remember to pit and chop them into bite-sized pieces for even distribution.
If using frozen cherries, there's no need to thaw them beforehand. Simply give them a quick chop while still frozen and mix them directly into the flour mixture. Using frozen cherries might slightly extend the baking time and add a touch more moisture, but the results are equally delicious. A crucial tip for both fresh and frozen fruit is to gently toss the chopped cherries with a tablespoon or two of the flour mixture before adding them to the wet ingredients. This light coating helps prevent the fruit from sinking to the bottom of the muffin liners, ensuring every bite is bursting with juicy cherry goodness.
The Art of Mixing for Tenderness
The beauty of muffin batter lies in its simplicity. Typically, you'll use two bowls: one for your dry ingredients (flour, sugar, baking powder, salt) and one for your wet ingredients (milk, eggs, melted butter, almond extract). Combine the wet into the dry, and mix just until everything is moistened. The golden rule for muffins is do not overmix. Overmixing develops the gluten in the flour, leading to tough, chewy muffins instead of light, tender ones. A few lumps in the batter are perfectly acceptable and even desirable for that characteristic muffin texture.
Achieving Those Coveted Tall Muffin Tops & A Dazzling Glaze
The hallmark of a true bakery muffin is its impressive, domed top. Coupled with a glistening glaze, these muffins transition from simple homemade treats to show-stopping desserts.
Filling Your Liners Like a Pro
To achieve those gorgeous, sky-high muffin tops that spill over just so, fill your muffin liners all the way to the top. It might feel counter-intuitive, but this generous filling allows the batter to puff up beautifully during baking, creating that iconic bakery-style dome. Using paper liners is recommended for easy removal and cleanup, but if you're going liner-free, ensure your muffin tin is thoroughly greased and floured.
Baking for Golden Perfection
Preheat your oven to the specified temperature, making sure it's fully heated before your muffins go in. A common bakery trick for extra tall tops is to start baking at a slightly higher temperature for the first 5-7 minutes, then reduce the temperature for the remainder of the baking time. This initial blast of heat helps the muffins rise rapidly. Bake until the tops are golden brown and a toothpick inserted into the center comes out clean. Allow them to cool in the pan for a few minutes before transferring them to a wire rack to cool completely before glazing.
Elevating with a Glaze: The "Glazed Cherry Muffins" Touch
While a crunchy sugar topping (as mentioned in some traditional recipes) or a buttery crumb can be delightful, a simple, elegant glaze truly transforms these into spectacular glazed cherry muffins. The glaze adds a beautiful sheen, locks in moisture, and introduces another layer of sweetness that complements the tartness of the cherries.
To make a simple glaze: Whisk together about 1 cup of powdered sugar with 2-3 tablespoons of milk (or lemon juice for a tangy twist) and a tiny dash of almond extract (to match the muffin flavor). Adjust the liquid until you reach a pourable, yet thick, consistency. Drizzle the glaze generously over your cooled muffins. Glazing cooled muffins prevents the glaze from melting entirely, allowing it to set properly and form that desirable delicate crust. For an extra touch of elegance, sprinkle a few finely chopped nuts or a dusting of cherry powder over the wet glaze.
Expert Tips for Muffin Mastery
Here's a summary of key insights and additional advice to ensure your Easy Glazed Cherry Muffins: Quick Prep & Freezer Friendly always turn out perfectly:
- Prevent Sinking Fruit: Always toss your chopped cherries (fresh or frozen) in a tablespoon or two of flour before incorporating them into the batter. This creates a light coating that helps suspend the fruit, ensuring even distribution throughout the muffin.
- Room Temperature Ingredients: As mentioned, starting with ingredients like milk closer to room temperature helps create a smoother, more emulsified batter, especially when working with melted butter.
- Fill 'Em Up: For those impressive, high-domed muffin tops, fill your muffin liners almost to the very brim. Don't be shy!
- Don't Overmix: Mix your wet and dry ingredients just until combined. A few lumps are fine; overmixing leads to tough muffins.
- The High-Heat Trick: Consider baking your muffins at 400°F (200°C) for the first 5-7 minutes, then reducing the temperature to 375°F (190°C) for the remainder of the baking time. This initial burst of heat helps the muffins rise quickly and achieve those tall tops.
- Serve Warm: While delightful at any temperature, these muffins are truly at their peak when served warm from the oven, allowing the flavors to meld and the cherries to be wonderfully jammy.
- Freezer-Friendly: These muffins freeze beautifully. Once completely cooled (and glazed, if desired), store them in an airtight container or freezer bag for up to 3 months. Thaw at room temperature or gently warm in the microwave for a quick breakfast or snack. This makes them perfect for meal prepping!
- Customization is Key: While delicious on their own, feel free to experiment. Add a handful of white chocolate chips for a sweet contrast, or a sprinkle of finely chopped pistachios for crunch. A pinch of cardamom or a swirl of lemon zest can also add intriguing layers of flavor.
I genuinely hope you take the opportunity to bake a batch of these incredible cherry muffins soon. They embody everything you desire in a quick, satisfying bake—soft, moist, bursting with fruit, and elegantly finished. Whether you're a seasoned baker or just starting your journey, these expert tips will guide you to perfection, transforming simple ingredients into a truly delightful treat that will impress everyone who tries them. Happy baking!
